
For those looking to add an extra kick to their food, chili is the way to go. While there are many delicious commercial hot sauces available, they often don’t compare to the flavor and richness of homemade hot sauce. To make your own it is just better.
Skip additional seasoning to focus on efficiently converting peppers into a preserved liquid form that can be easily added to recipes that already have their seasoning.
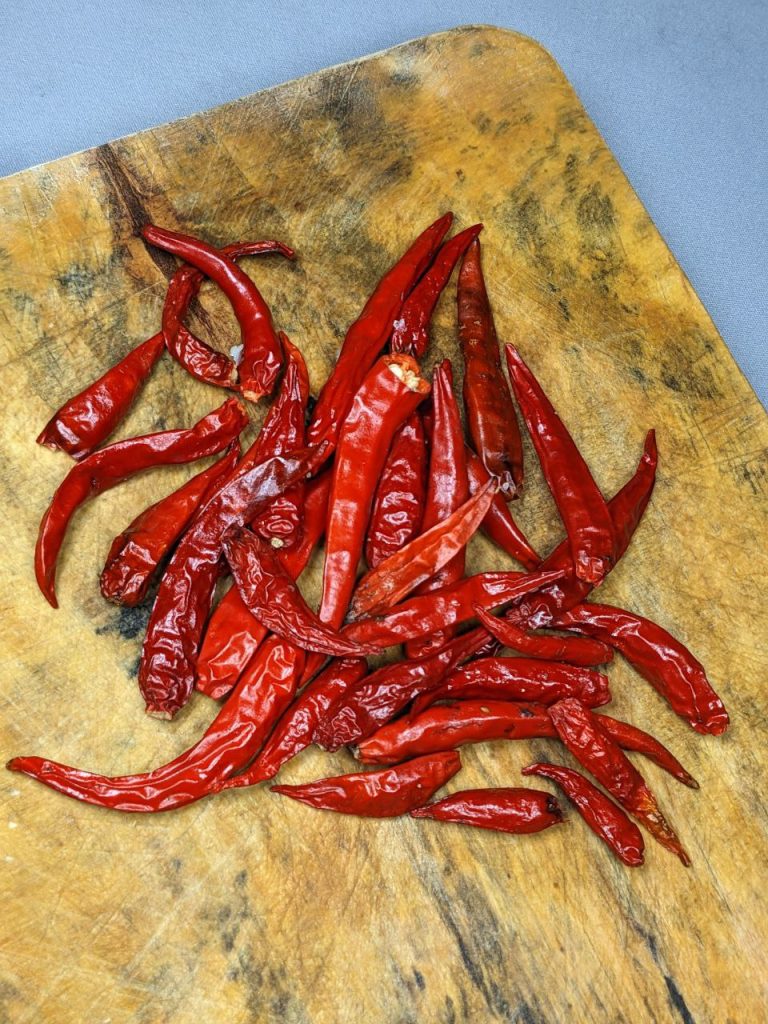
Choose your peppers based on your desired spice level, for this recipe, I went with red bird eye chili, but the process is the same regardless of the type.
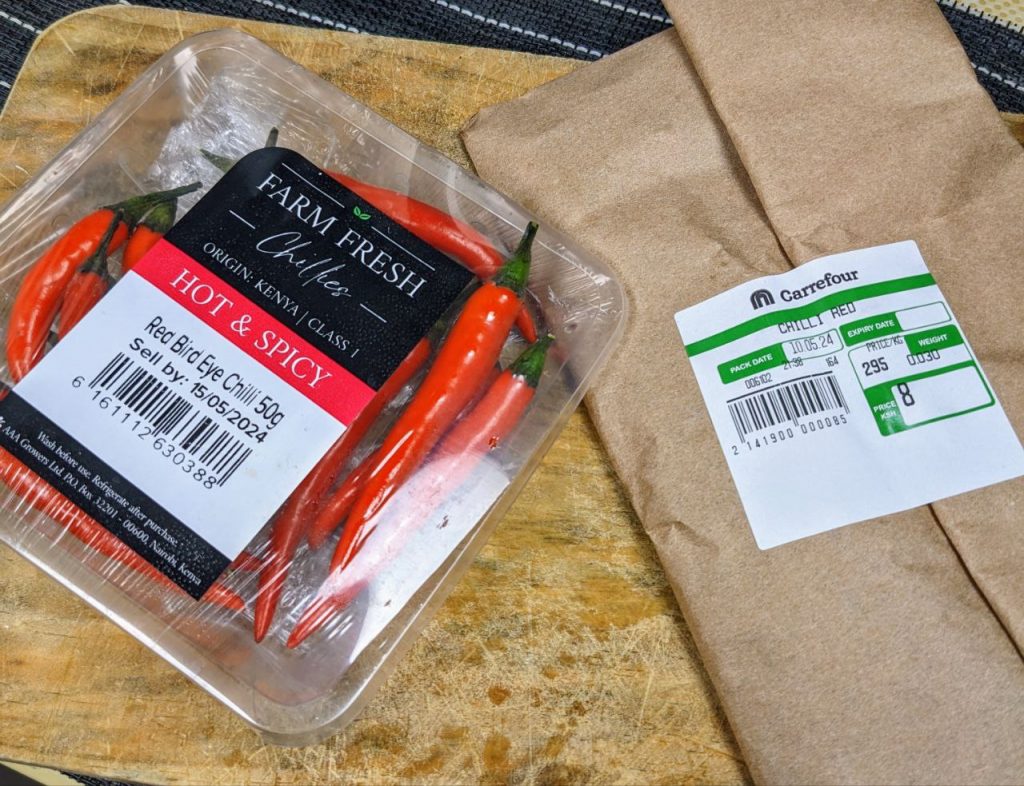
I love Bird’s Eyes because they are easily available where I live and are considered hot, with Scoville ranging between 350,000–855,000, depending on how they are grown. They are commonly used in Thai Cooking.
A bit of vinegar or other acids, such as lemon juice, is necessary to keep the pH level optimal. For a killer chili sauce, ferment your ingredients and blend them once fermentation is complete.
For this recipe no fermenting because we are using vinegar. But if you want more complexity and nuances then fermented is the way to go, it just takes longer.
This simple homemade chili sauce recipe, with just four ingredients, is the ultimate base and can be adapted in many ways. All you need are your ingredients, a blender or food processor, and a few minutes.
Drying the chilies intensifies their flavor and heat.
Here’s what you’ll need:
Ingredients
- 200ml white vinegar
- A handful of chilies( 20-30 pcs)
- 5 garlic cloves
- 3-4 tomatoes
- 1 onion
- 1 tsp sugar
- Oil
- Salt for seasoning
Olive oil adds a silky mouthfeel and helps blend the ingredients, but can be replaced with water or another neutral oil like avocado oil, or vegetable oil
Vinegar acts as a natural preservative and adds a tangy flavor; homemade apple cider vinegar adds slight sweetness.
Procedure
- Drying the chilies to concentrate flavor: Drying the chilies removes moisture, intensifying both their flavor and heat. This makes for a more robust and potent sauce.
- Removing the stalks and optionally chopping for large batches: Removing the stalks ensures a smoother texture. Chopping the chilies if preparing a large batch helps in blending them more easily and evenly.
- Adding to a food processor or blender and grinding to a thick paste: This step ensures the chilies are finely processed, creating a smooth base for the sauce and making it easier to blend with other ingredients.
- Cooking tomatoes and onions until mushy and jammy: Cooking breaks down the tomatoes and onions, enhancing their flavors and creating a richer, more cohesive base for the sauce.
- Cooking the chili sauce by adding water, minced garlic, salt, sugar, and vinegar:
- Water helps in blending the ingredients and achieving the desired consistency.
- Minced garlic adds a depth of flavor.
- Salt enhances the overall taste.
- Sugar balances the acidity and heat, providing a touch of sweetness.
- Vinegar acts as a preservative and adds a tangy flavor, helping to balance the sauce.
- Tasting and adjusting seasonings as necessary: This ensures the sauce has the right balance of flavors according to your preference. Adjusting the seasoning at this stage allows you to correct any imbalances.
- Simmering for 30 minutes at 90°C: Simmering allows the flavors to meld together and helps to reduce the sauce, concentrating its flavors. The heat also helps to further preserve the sauce by killing any bacteria.
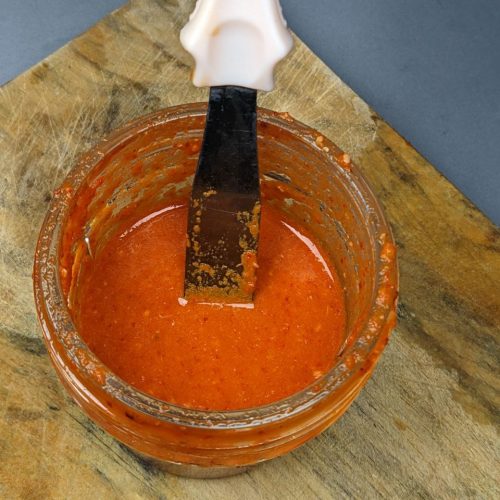
- Packing the sauce into sterilized jars, filtering if desired for smoothness, and labeling:
- Sterilized jars ensure that no contaminants spoil the sauce, extending its shelf life.
- Filtering (optional) gives a smoother texture if preferred.
- Labeling helps keep track of the date of preparation and ingredients used.

Red Bird’s Eye Chili Sauce
Equipment
- 1 Food Processor
Ingredients
- 200 ml white vinegar
- A handful of chilies
- 5 garlic cloves
- 3-4 tomatoes
- 1 onion
- 1 tsp sugar
- Oil optional, for cooking and blending
- Salt to taste
Instructions
- Dry the chilies to concentrate flavor.
- Remove the stalks and optionally chop if preparing a large batch.
- Add to a food processor or blender and grind to a thick paste.
- Cook tomatoes and onions until mushy and jammy.
- Cook the chili sauce by adding water, minced garlic, salt, sugar, and vinegar.
- Taste and adjust seasonings as necessary.
- Simmer for 30 minutes at 90°C.
- Pack the sauce into sterilized jars, filter if desired for smoothness, and label. It lasts up to 4 weeks.
Notes
Storage
For longer storage, transfer the sauce to a sterilized jar and store it in the fridge for up to one month or in the freezer for up to four months. You can also reduce the sauce to thicken it. Enjoy your homemade chili sauce in various recipes to add a spicy kick!